My Approvals Overview

  • The My Approvals module provides a centralized view for users who are assigned as approvers for various operations across the system — such as budgets, expenses, contracts, invoices, payments, and more.
  • It helps streamline the approval workflow by allowing authorized users to quickly review, approve, or reject pending requests directly from one place, ensuring timely decision-making and operational efficiency.

How to Access?

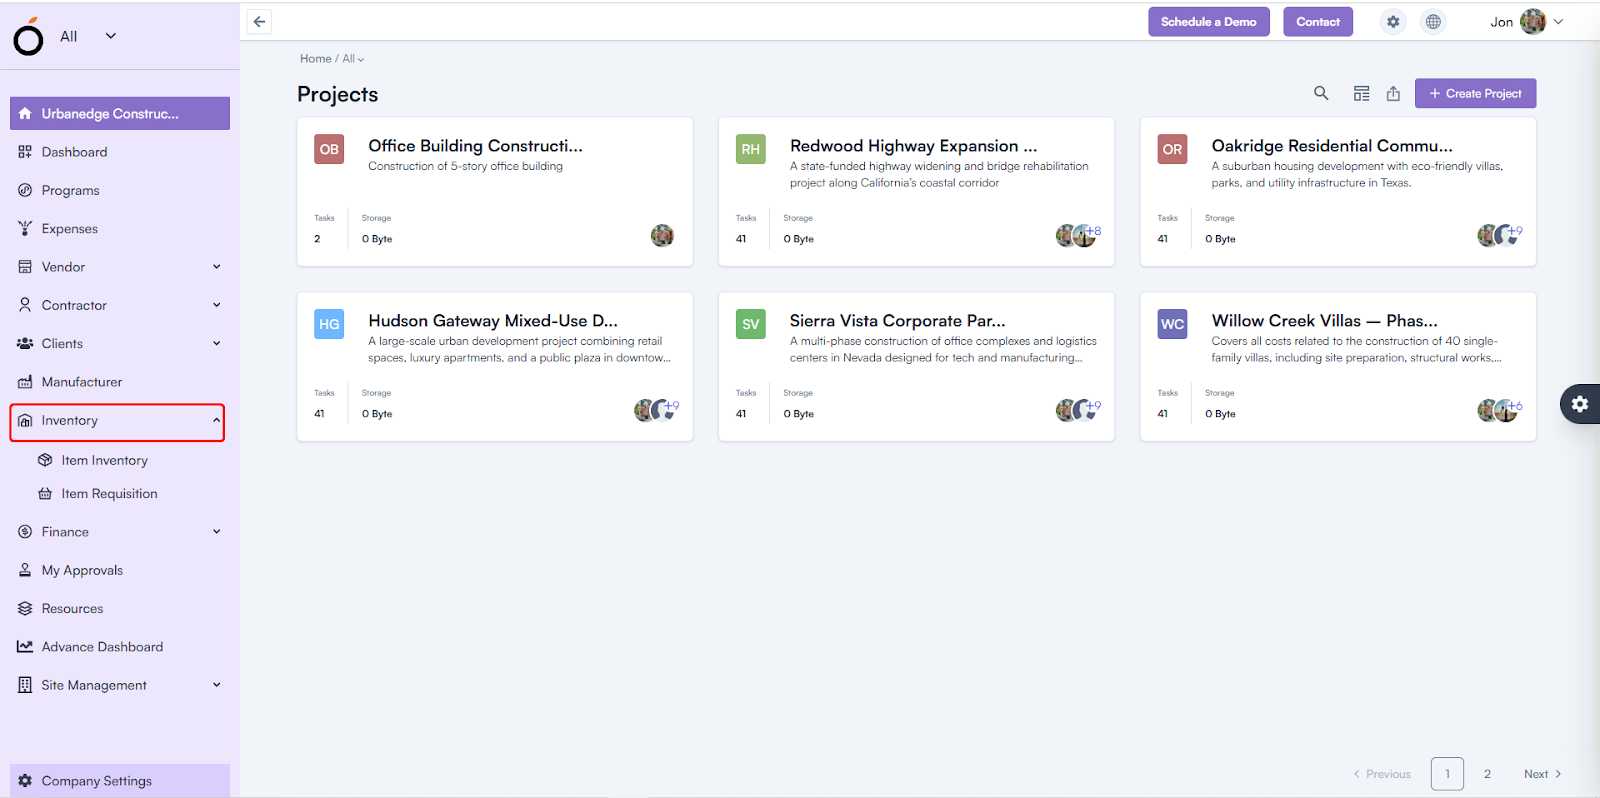
Log in to the application > go to the left menu > click on My Approvals.

My Approvals

Overview

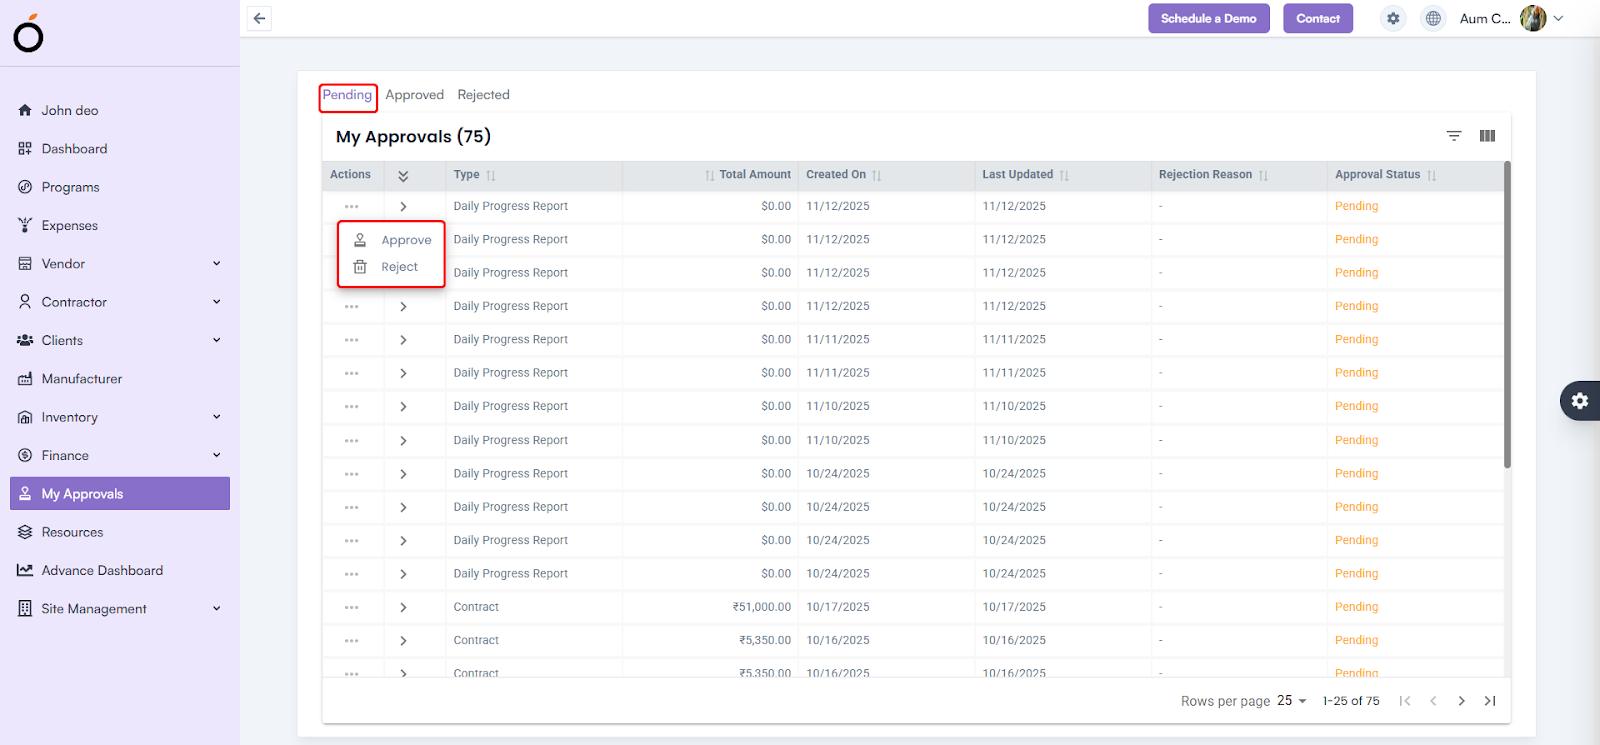
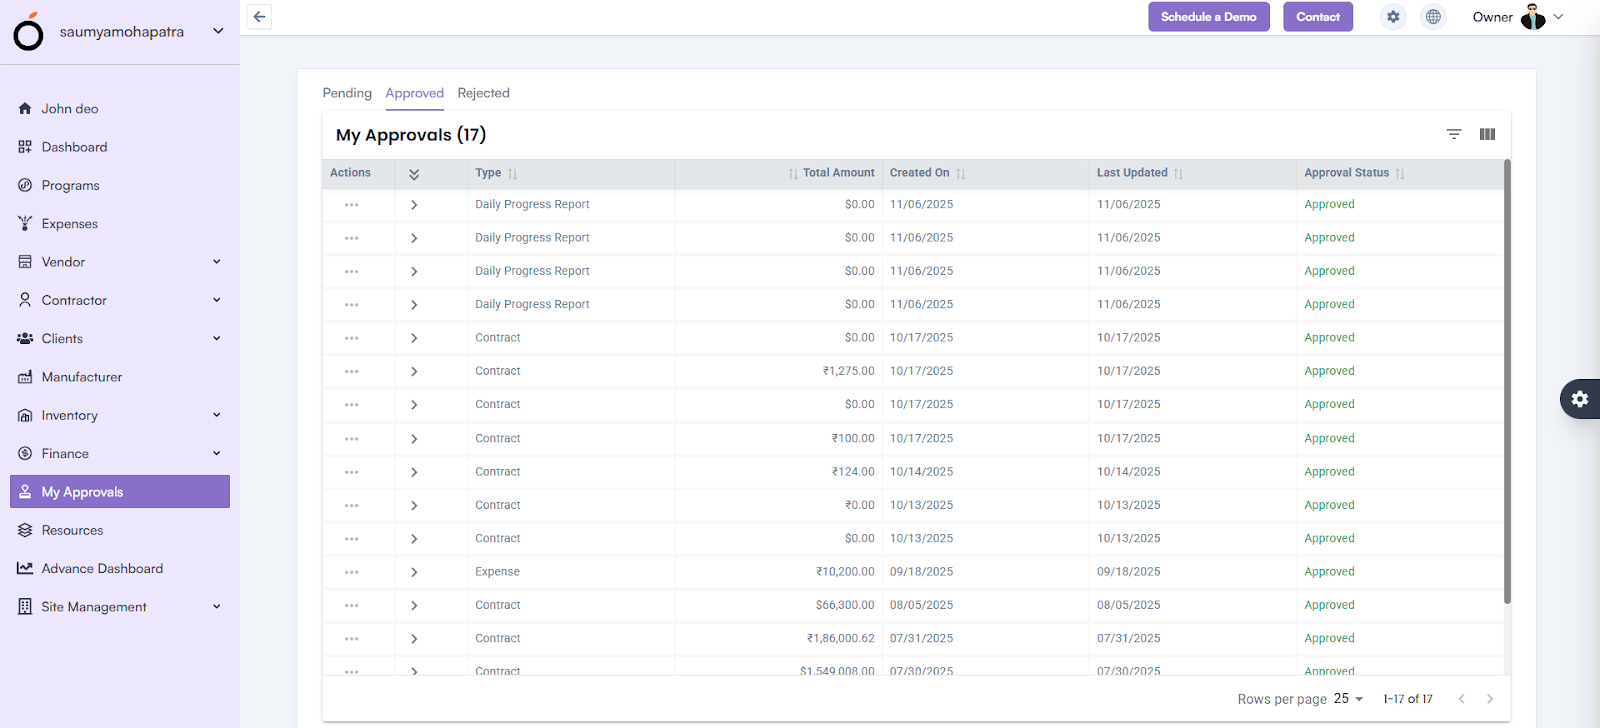
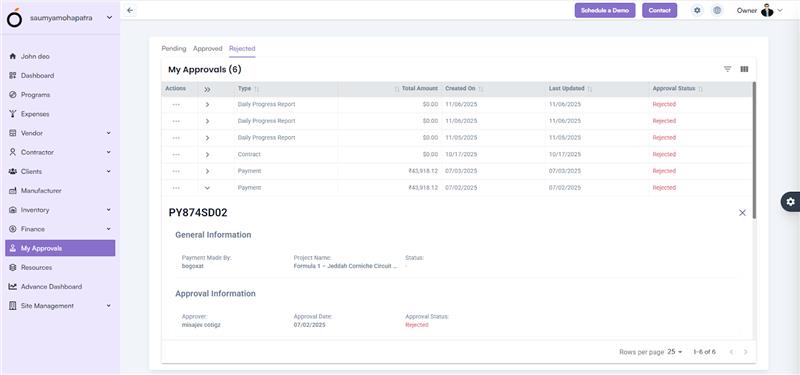
The My Approvals page displays all approval requests assigned to the logged-in user.

Requests are automatically categorized into tabs for easy navigation:

  • Pending – Requests awaiting your review or decision.
  • Approved – Requests that have already been approved.
  • Rejected – Requests that have been declined.

My Approvals Overview

Actions

Each approval record displays the operation details such as request type, requester name, submission date, and status.
Users can take the following actions directly from the Action Icon:

  • Approve – Confirms and approves the pending request.
  • Reject – Declines the request with an optional remark.

Actions

Once an action is taken, the system automatically updates the request status in real time and removes it from the pending list.

Key Benefits

  • Centralized access to all pending approvals in one dashboard.
  • Quick decision-making to prevent delays in workflow execution.
  • Real-time status updates for better transparency.
  • Streamlined collaboration between project, finance, and management teams.

Item Requisition

The Item Requisition section displays all material requests raised from the Task Details Page by users or site engineers.Item Requisition

Listing Information

Each record in the Item Requisition list displays the following details:

  • Item Name – The name of the material requested.
  • Project Name – The project for which the item is needed.
  • Task Name – The task linked to the requisition request.
  • Requested By – The team member who raised the request.
  • In-Hand Quantity – The quantity of the item currently available.
  • Stock In-Hand – Current balance of the item in inventory.
  • Request Date – The date the requisition was created.

Status – Current status of the request (e.g., Pending, Approved, Rejected, or Fulfilled).

Item Requisition

Item Inventory

How to Access the Inventory

Log in to the application > go to the left menu > click on Inventory > then click on Item Inventory.

Overview

The Item Inventory page displays a list of all items and assets added in Company Settings ➝ Item Master.

Each record provides complete visibility into stock levels, helping teams plan procurement and avoid delays.

Item Inventory

Listing Information

The Item Inventory listing displays:

  • Item Name – The name of the material or asset.
  • Quantity – Available quantity in stock.
  • Reorder Point – The minimum quantity at which new stock must be ordered.
  • Safety Stock – Buffer quantity to prevent stockouts.
  • Location – The warehouse or site location where the item is stored.

At the top of the page, users can view the total count of items currently being tracked.

Additionally, the Show/Hide Filters feature allows filtering items based on name, type, or location, making it easy to search and manage inventory data.

Dashboard View

The Dashboard View provides a real-time visual summary of inventory data through charts and graphs.

It displays the following key insights:

  • Stock Levels by Material Type – Breaks down inventory based on material categories.
  • Equipment & Tools Availability – Shows the availability of essential tools and machinery.
  • Top 5 Materials with Highest Usage – Highlights materials that are most frequently consumed.
  • Material Usage Trend Over Time – Displays how material usage fluctuates across different time periods.
  • Stock In vs Stock Out – Tracks inflow and outflow of inventory in real time.
  • Low Stock Alert – Flags items that have reached or fallen below the reorder point.
  • Inventory Turnover Ratio – Measures how efficiently inventory is being used and replenished.

Dashboard View

KPI’s

The Item Inventory dashboard also includes critical key performance indicators to monitor stock performance:

  • Total Inventory Cost – Displays the total monetary value of all stocked items.
  • Total Items – Count of all unique inventory items tracked in the system.
  • Low Stock Items – Number of items that have reached the reorder level and need restocking.
  • Out-of-Stock Items – Items currently unavailable in stock, requiring immediate replenishment.

Inventory

  • The Inventory module plays a vital role in construction project management by ensuring that work never halts due to a shortage of materials or equipment.
  •  It helps in maintaining optimum stock levels, monitoring reorder points, and tracking item usage trends—so teams always have the right resources available at the right time.
  •  Effective inventory management ensures smooth operations, cost efficiency, and timely completion of construction activities.

The Inventory Module Includes:

  1. Item Inventory
  2. Item Requisition

Inventory

Site Types

How to Access

Log in to the web application > go to Site Management > click on Site Types > click on the Add Site Type button.

Site Types

Steps to Create Site Type

  • Name* – Enter the site type name (e.g., Residential, Industrial, Renovation).
  • Start Date / End Date – Define the validity period of the site type.
  • Description – Provide a brief explanation about the site type or usage purpose.

Click Save to create a new site type successfully.

Steps to Create Site Type

Benefits of Site Management

  • Ensures accurate, location-based attendance tracking through geo-validation.
  • Prevents false or off-site check-ins.
  • Allows project-specific resource allocation and visibility.
  • Provides real-time monitoring of site activity and workforce presence.
  • Enhances field accountability and improves project efficiency.

Site Attendance

The Site Attendance feature ensures that attendance is captured only when a resource is physically present at the site, using GPS-based validation.

When users log in to the Oconstruction Mobile App, they can check in at the site.

If their GPS location matches the site boundary, attendance is marked as Valid; otherwise, it is recorded as Invalid.

How to Record Attendance (Mobile Application)

1. Log in to the mobile app.

Site Attendance

2. Click on the Attendance Icon in the header section.

3. Select the Site and Project from the dropdown.

    • Click on Clock In to mark attendance.

Site Attendance

Attendance Display in Web Application

All clock-in data from the mobile app is automatically displayed in the Site Attendance list on the web.

Attendance Display in Web Application

Each record shows:

  • Actions
  • Site Name
  • Resource Name
  • Project Name
  • Check-In Time
  • Check-In Longitude / Latitude
  • Check-Out Time
  • Check-Out Longitude / Latitude
  • Is Valid – Displays whether the check-in was within the site boundary.
  • Status – Displays if the attendance is Approved, Pending, or Invalid.

This real-time integration helps site managers verify attendance accuracy and monitor resource presence.

Category: Construction Academy

Subcategory: Budgeting and Planning

Subcategory: Construction Phase

Subcategory: Design Coordination

Subcategory: Estimation Techniques

Subcategory: Initiation and Feasibility

Subcategory: Introduction

Subcategory: Personal Management

Subcategory: Project Close-Out

Subcategory: Project Scheduling

Subcategory: Project Teams

Subcategory: Proposal Management

Subcategory: Total Quality Management

Subcategory: Tracking and Control

Subcategory: Work Breakdown

Category: Help Desk

Subcategory: Client

Subcategory: Construction 101

Subcategory: Contractor Management

Subcategory: Expense

Subcategory: Finance Budget

Subcategory: Inventory Management

Subcategory: My Approvals

Subcategory: Site Management

Subcategory: Vendor Management